
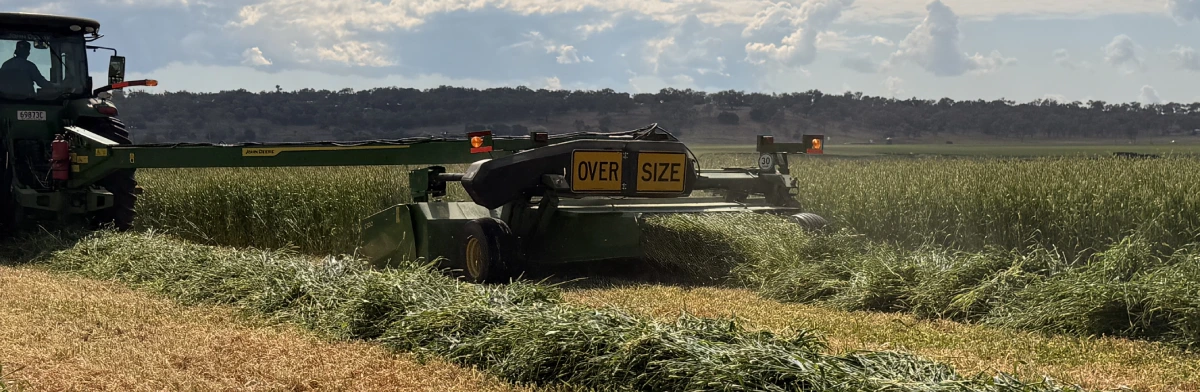
Silage is one of the best tools a farmer has for capturing feed at its peak and holding it for when it is needed. Where hay needs a long, dry weather window to cure, silage can be cut and baled at higher moisture over a much shorter window, which makes it a genuine option when the weather will not play along. Done well, it locks in high-quality feed with less risk of leaf loss and weather damage. Done poorly, it turns into a mouldy, wasted mess. This guide walks through how silage works and how to make good silage, step by step.
Silage is forage preserved by fermentation rather than drying. Once the cut forage is sealed away from oxygen, naturally occurring bacteria ferment the plant sugars into acid, the pH drops, and at that point the feed is effectively pickled and stable. The whole process depends on one thing above all: keeping air out. As long as oxygen is excluded, the good fermentation wins. Let air back in, through a hole in the wrap or a poorly sealed pit, and mould and spoilage take over.
That single principle, exclude the air, sits behind almost every rule that follows.
The big advantage of silage over hay is the weather. Hay has to dry right down in the paddock, which needs several clear days. Silage is cut and wilted only partway before baling, so the window between cutting and baling is far shorter, often a day or so. In an unreliable spring, that flexibility can be the difference between saving a crop at its best and watching quality fall away while you wait for the sun.
Silage also tends to hold quality well, with less of the leaf shatter that costs you feed value in hay. The trade-offs are that it is heavier to cart because of the moisture, it needs wrapping or sealing, and once opened it must be used fairly quickly. For high-quality feed aimed at milking, growing or breeding stock, those trade-offs are usually well worth it.
Before the steps, four principles decide whether your silage is any good.
Quality in, quality out. Silage cannot be better than the forage you cut. Cut at a leafy, pre-flowering stage while the plant is high in energy and sugar, and you have the raw material for excellent silage. Cut late and stalky and no amount of good technique will fix it.
Enough sugar to ferment. The fermentation runs on plant sugars, so forage with good sugar content ferments cleanly. This is another reason to cut at the right stage rather than at full maturity.
The right moisture. Too wet and you get a poor, sour fermentation and effluent. Too dry and you cannot squeeze the air out properly, so it moulds. Getting the moisture into the right band is the step people most often get wrong, so it has its own section below.
Seal it fast. The sooner you get the air out after baling or filling, the sooner the good fermentation starts and the less chance spoilage has to take hold.
Baled silage is the most common approach on Australian farms, so here is the basic sequence.
This is the make-or-break step. For baled silage, a common target is to wilt to around 40 to 50 percent dry matter, which is well short of hay but a good way off freshly cut green feed. Bale it too wet, below about 30 percent dry matter, and you risk a poor, butyric fermentation, effluent running from the bales, and a higher chance of harmful bacteria. Bale it too dry and you cannot compact it enough to exclude the air, so it moulds from the inside.
Because “feels about right” is easy to get wrong, amoisture meter takes the guesswork out and is a small cost against a whole season’s feed.
Some forages carry a chemical risk that is worth knowing before you cut. Heavily fertilised cereal crops can accumulate nitrate, and sorghum and millet types can carry prussic acid, particularly when the plants are young, stressed or frosted. Fermentation reduces prussic acid over time, but nitrate can persist in the silage. If you are ensiling an at-risk crop, testing before you feed it out is the safe move, andnitrate and prussic acid test kits make that straightforward.
Silage is only sealed while it stays sealed. Once you open or unwrap a bale, air gets back in and it starts to spoil, so feed it out reasonably quickly rather than leaving opened bales sitting around. Always check silage before feeding and never feed mouldy or spoiled silage, as it can cause serious illness in stock, especially sheep and goats. Good silage smells sweet and clean, not sour or rotten.
You can find everything for a silage program on LocalAg:silage wrap and covers,mowers andbalers, andmoisture and feed testing gear. If you would rather buy silage than make it, you will findsilage and fodder listings from verified sellers, with every sale protected through CheckVault escrow so your payment is held securely until the feed arrives and matches what was described.
Get the crop cut at the right stage, wilted to the right moisture and sealed away from air quickly, and you will have quality feed in the shed for when the season turns.
Search our marketplace